
Getting Started
Inkstead Writer turns a folder of Markdown files into a personal website. You write posts in plain text, preview them on your own machine and publish the result as a static site. This guide takes you from nothing to a working site.
In this guide you will learn:
- how to install the Inkstead Writer launcher
- how to create a site and preview it locally
- how to write your first post
- how to build the site and publish it
Installing Inkstead Writer
Inkstead Writer runs on macOS and Linux. Install the launcher with one command:
$curl -fsSL https://install.inkstead.app | shOr, on macOS with Homebrew:
$brew tap ivonunes/tap$brew install inkstead-writerThe installer writes to /usr/local/bin by default. To install somewhere else, pass a directory:
$curl -fsSL https://install.inkstead.app | sh -s -- --dir "$HOME/.local/bin"Creating a site
With the launcher installed, create a site and start the local preview:
$inkstead-writer init my-site$cd my-site$./inkstead-writer devDuring init, you choose where you want to publish, whether you want automated publishing, whether posts should syndicate to social media and whether you want to configure the Inkstead app connection. You can accept the defaults and add more later in inkstead-writer.json, the site's settings file.
Inside a site, use the ./inkstead-writer wrapper rather than the global command; it keeps the site on the Inkstead Writer version recorded in inkstead-writer.json. See the ./inkstead-writer wrapper for how it works.
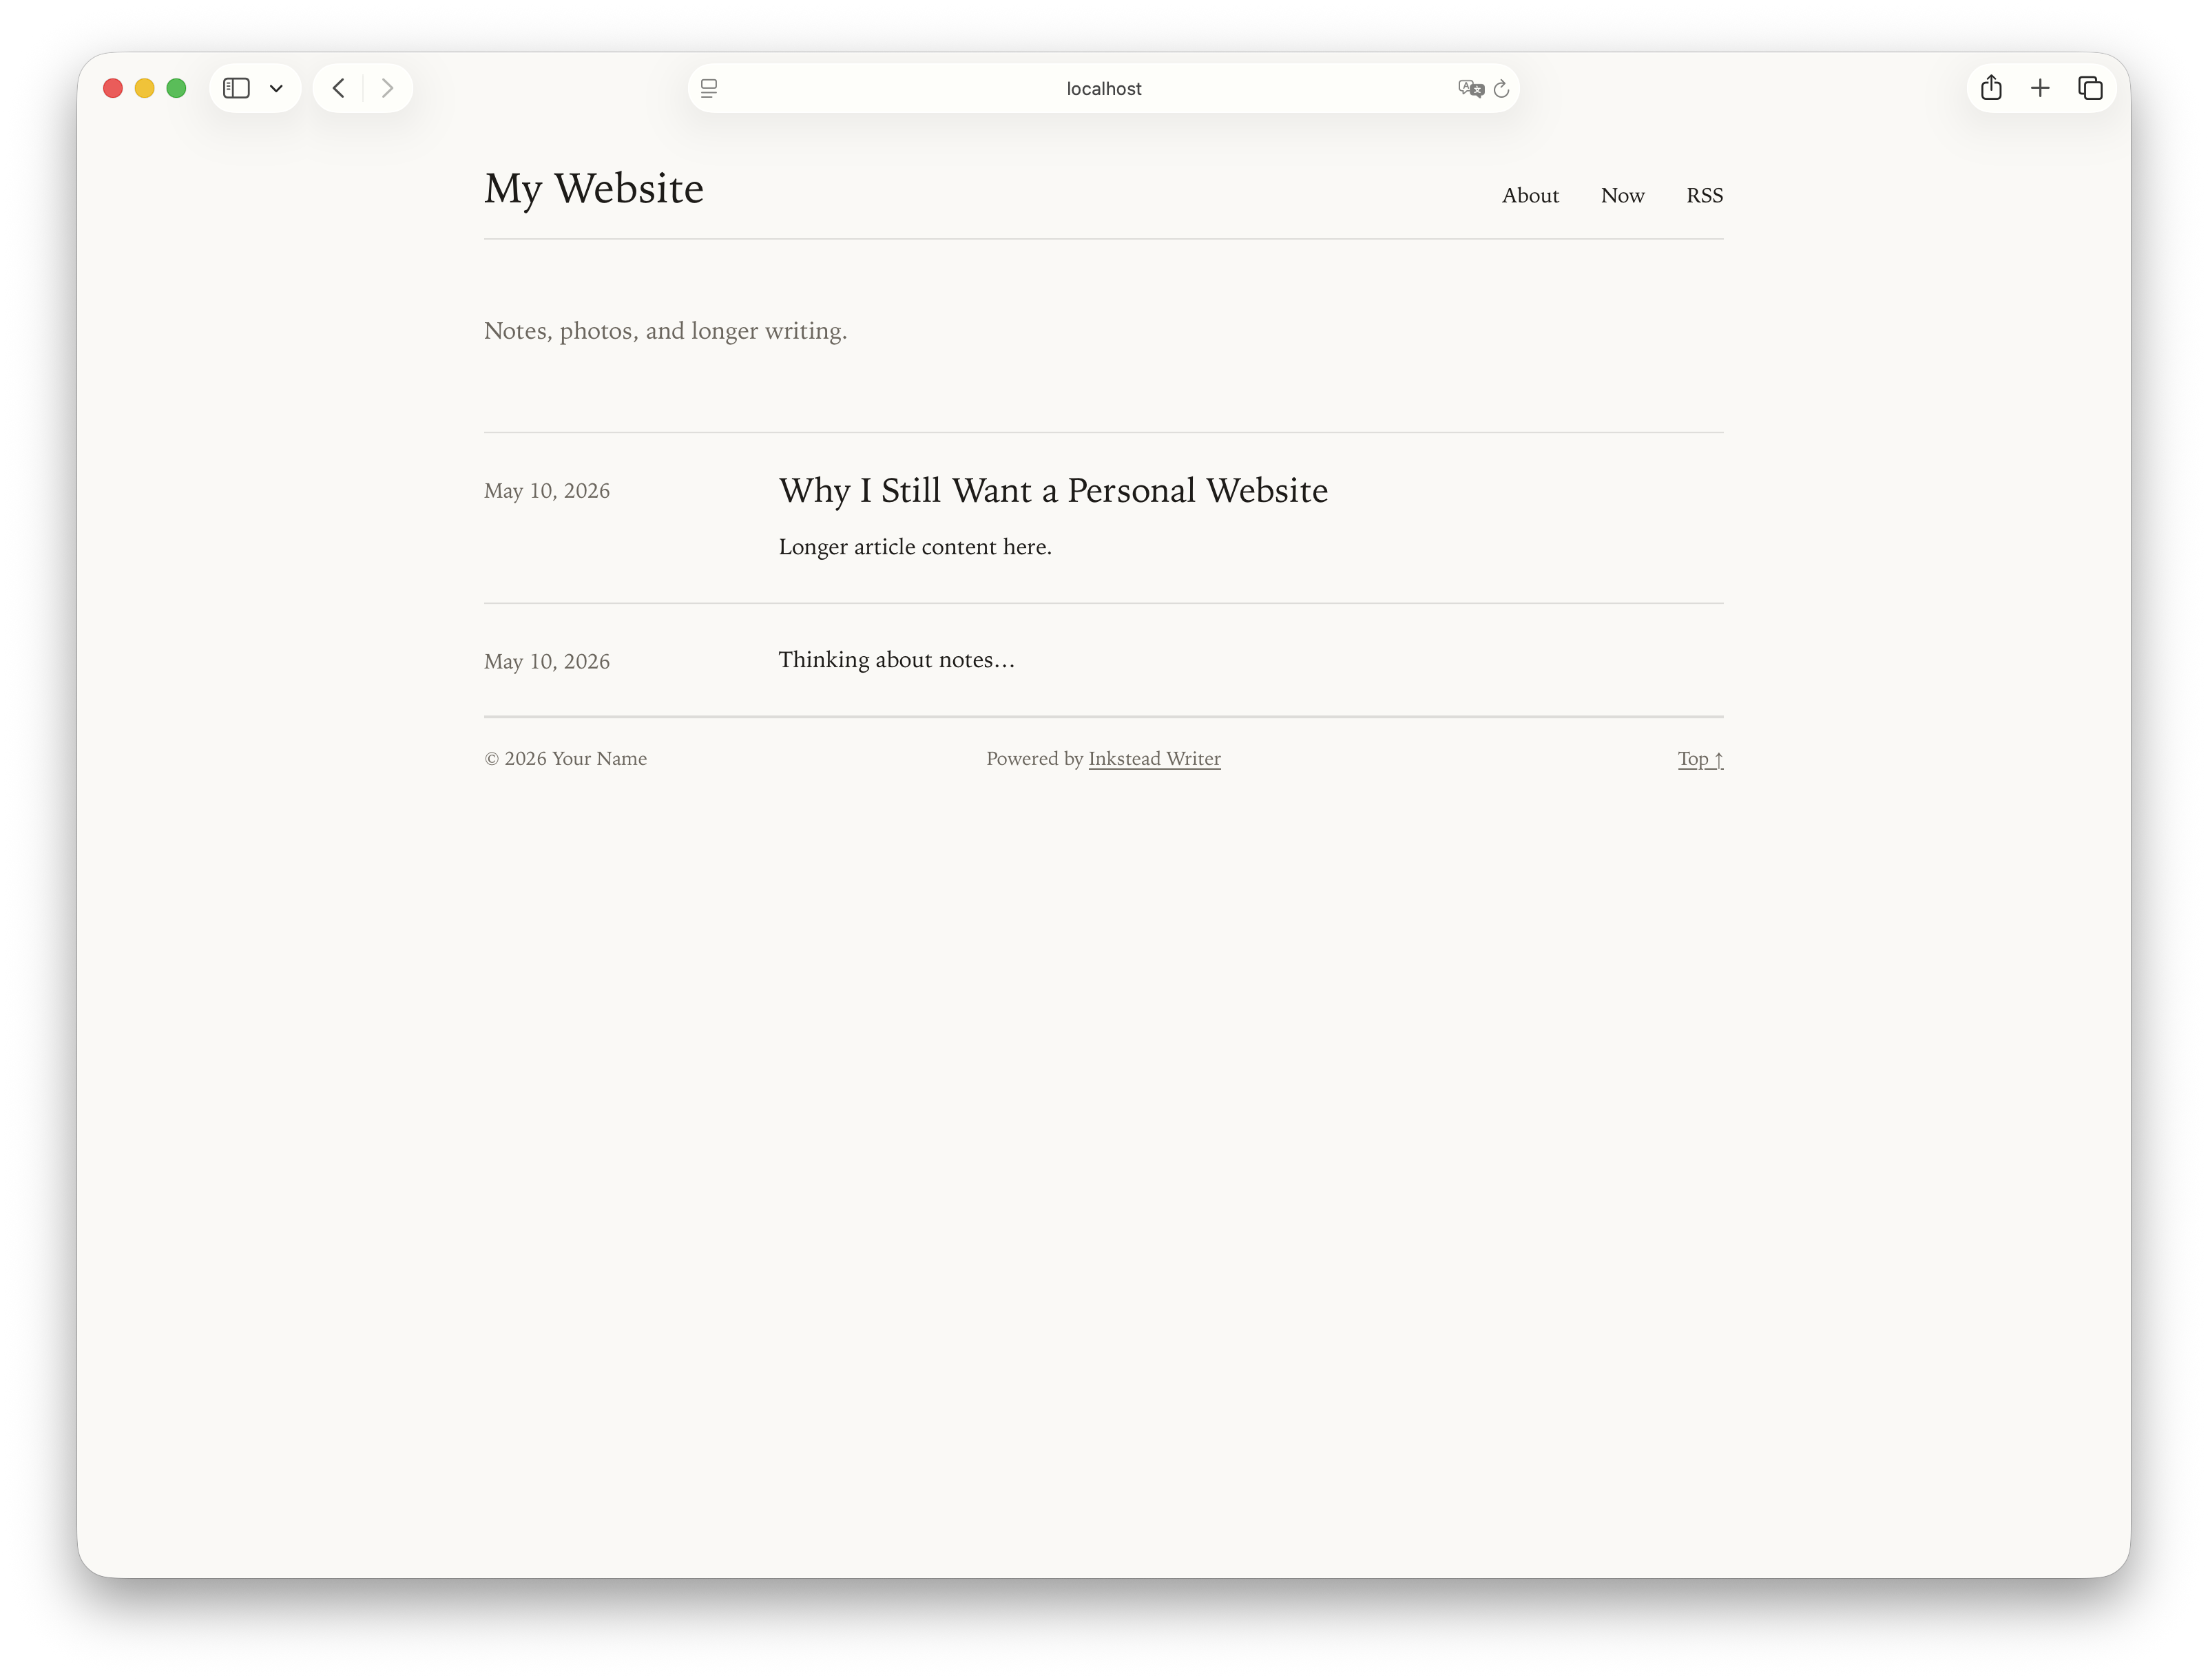
The starter content
Open the local URL printed by ./inkstead-writer dev, then edit the starter content. It lives in a few folders:
content/postscontains dated posts for your homepage and feeds.content/pagescontains standalone pages like About or Now.content/mediacontains original photo files you want to keep with the site.content/collectionscan contain Markdown collections for structured content.
These are the default folders. You can change them in inkstead-writer.json; see Site Configuration.
Your first post
A post is a Markdown file with a small header called frontmatter, the block between the --- lines. Create one in content/posts:
---
title: Hello From My Website
date: 2026-05-10T18:30:00+01:00
---

This is my first Inkstead Writer post.
Run ./inkstead-writer dev and the post appears on the homepage. Posts use dated permalinks by default, such as /2026/05/10/hello-from-my-website/.
You can also create posts from the command line. ./inkstead-writer new post asks a couple of questions and writes the file with the right name and frontmatter.
See Writing Posts for everything posts can do.
Local preview
While you write, keep the preview running:
$./inkstead-writer devdev builds the site, serves it locally and watches for changes. When you save a post or template, the site rebuilds and open pages reload in the browser automatically.
To use a different port:
$./inkstead-writer dev --port 8080Building the site
When you are ready to generate the static site:
$./inkstead-writer buildThe built site is written to dist. Everything in that folder is plain HTML, CSS and JavaScript, ready for any static host.
Publishing
When you want the site online, and you chose a publishing target during init, publish with:
$./inkstead-writer publishpublish builds the site, deploys it, syndicates any posts that ask to be syndicated, then updates the site again if new syndication links were added.
Before publishing from your own machine, copy the generated .env.example to .env and fill in the values. If you chose automated publishing, add the same names as CI secrets or variables instead.
Tip: Run ./inkstead-writer doctor before publishing. It reports anything missing; see what doctor checks for the full list.
See Deployment for the publishing targets and what each one needs.